
Cottage Renovation: A Clean Slate for Victory Farms
From mudroom plans and ideas for creating beautiful bathrooms to the final demolition, big plans are coming together for this cottage renovation.
This week we will finish the demolition of Victory Farms! This post is all about learning how to space plan for a cottage renovation after tearing away to a clean slate. You will notice in the photos that the downstairs full bath was truly outdated and not worth saving. Since this was going to be the main level bathroom that guests would use on a regular basis, I wanted to make it special. The bathroom was the only lower level bath. It was raised off the main floor and located on the first landing of the stairs. We gutted the entire room knowing we had some space below the subfloor which would allow me to give V a bathroom with a curb-less shower. I love this look because when it can be done, it really enhances the size of the room. In upcoming blogs, you will see how we put together the design for this stunning bathroom, but first more demo!


The downstairs bath was too outdated to save. We chose to tear it all out and start from scratch. The plan includes a curb-less walk-in shower which will make the space feel bigger.
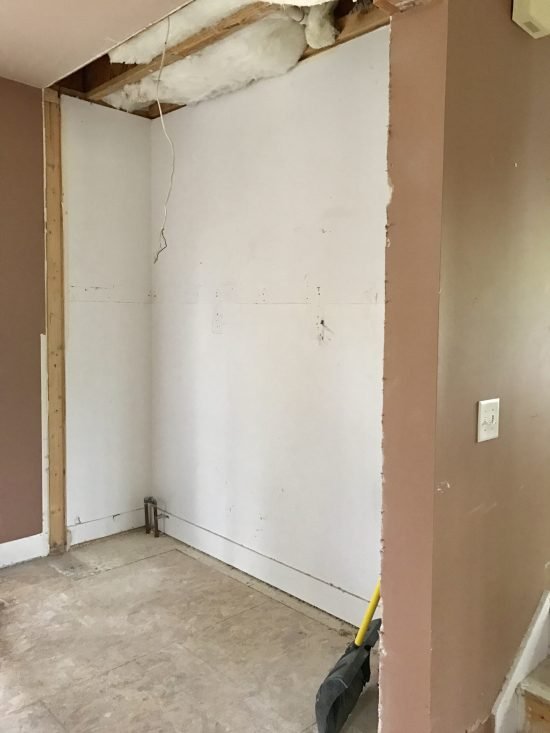
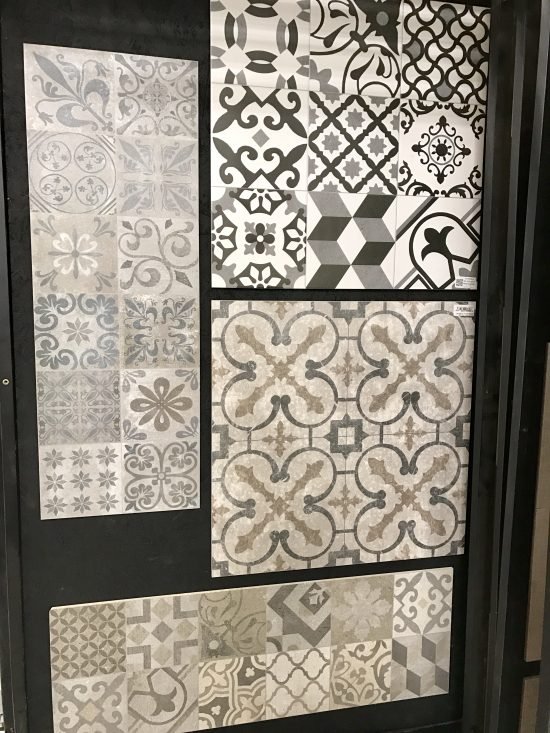
Checking out tile samples for the new bathroom: Which ones do you like? Porcelain tiles at the top? Or cement tiles just above?There really was no entry to this home. You walked through a double door right into dining area along with a coat closet which was just not going to work. I really wanted a welcoming entry that made you feel like kicking your shoes off and staying a while. I had the team gut the existing coat closet down to the studs and remove them which gave us a little over 2 feet in depth and a good 8 foot in length. Now I could think about how to space plan starting from scratch! I wanted to design an entry space with a farmhouse touch that could accommodate coats, boots, shoes and for those winter months hats and scarves. I was looking forward to getting to the drawing board to come up with this design once we finished gutting the downstairs.
The goal for the entryway is to create a farmhouse-inspired area that can hold lots of cold weather gear.
Now that we had the entryway opened up we moved over to what they considered the dining area located around the entry. The layout was really bothering us—we didn’t like the idea of the dining room up front, then living room, then kitchen. However, flip-flopping the dining and living space was just not possible. This was one of those design blurs that needed to be addressed and I was completely up for the challenge. As you follow the entire cottage renovation journey, you will see how I was able to transform this undesirable space into a quaint but useful space by building a room without any walls!
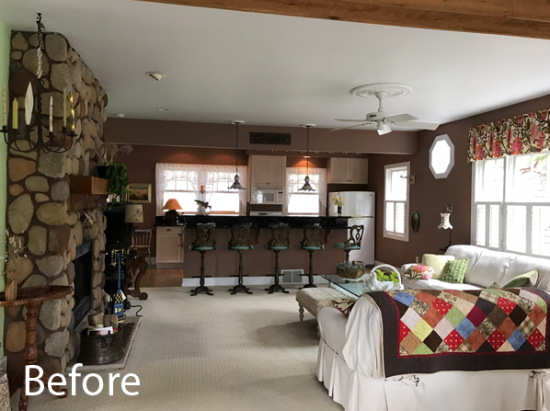

Moving into the living space all I had the team demo was the stone fireplace. I really wanted to give a cleaner modern facelift to the existing fireplace and dress it up. The fireplace had a large cavity around it with a lot of unused space. This is the same space I used upstairs to gain a linen closet in the hallway. The floor plan design I came up with called for removing 2 feet on both sides of the fireplace and building a surround for the soon to be placed electronics.
We removed all the heavy stone and were able to uncover some unused space on either side. We plan to build a surround storage to enclose all the electronics.


We then moved into the kitchen. The kitchen had a long and tall two-tower 80’s style island with black countertops that also included the sink and dishwasher. The back-kitchen wall accommodated windows that faced the pond, so the only upper cabinet was above the refrigerator buried under a large soffit, and that’s an ugly no-no. Located under kitchen windows were a few base cabinets along with the stove. Working our way to the back door located in the kitchen there sat another closet with bifold doors used for pantry items. I had the guys demo this closet as well so I could then incorporate this extra space into the kitchen design.

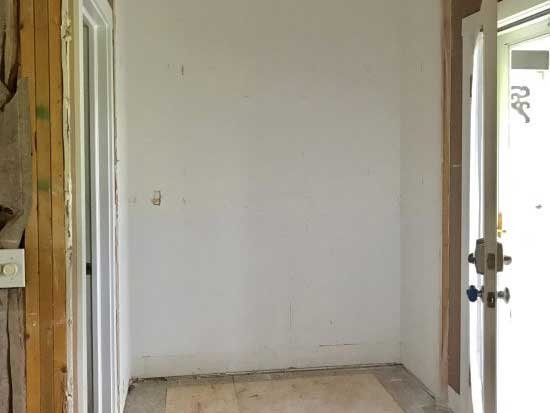
We removed the pantry and will use this space for more kitchen.To save money V originally wanted to paint the peach-colored cabinets and replace hardware along with appliances. I asked V to visit the job site so she could see the downstairs exposed and how much more space was gained. After discussing the cost of new cabinets vs refinishing the old she decided to demo the rest of the kitchen and start new. There was not that many cabinets to replace and V wanted the countertops replaced anyways so this was truly the correct direction to go.Now the only thing left to demo was the so-called laundry/utility room. Once we got the mess cleaned out of the room the crew realized the original builder had the water heater located in front of the electrical box for home. Hmm… not a good idea and I didn’t know how this originally passed inspection. After discussing with V, we decided to not only replace the water heater with brand new ones, but to relocate them to the homes finished crawl space where the rest of mechanicals were located. This was such good news not only for safety reasons, but for me to design a true laundry room with pantry storage. Now that the entire downstairs was completely gutted to studs, I was so excited to head back to my office to start designing the entire downstairs.
Please stay tuned to the cottage renovation journey of Victory Farms…hope you all enjoy!XO,Betsy Glass If you're thinking about renovating your home, contact The Flippin Designer today to see what we can design just for you!